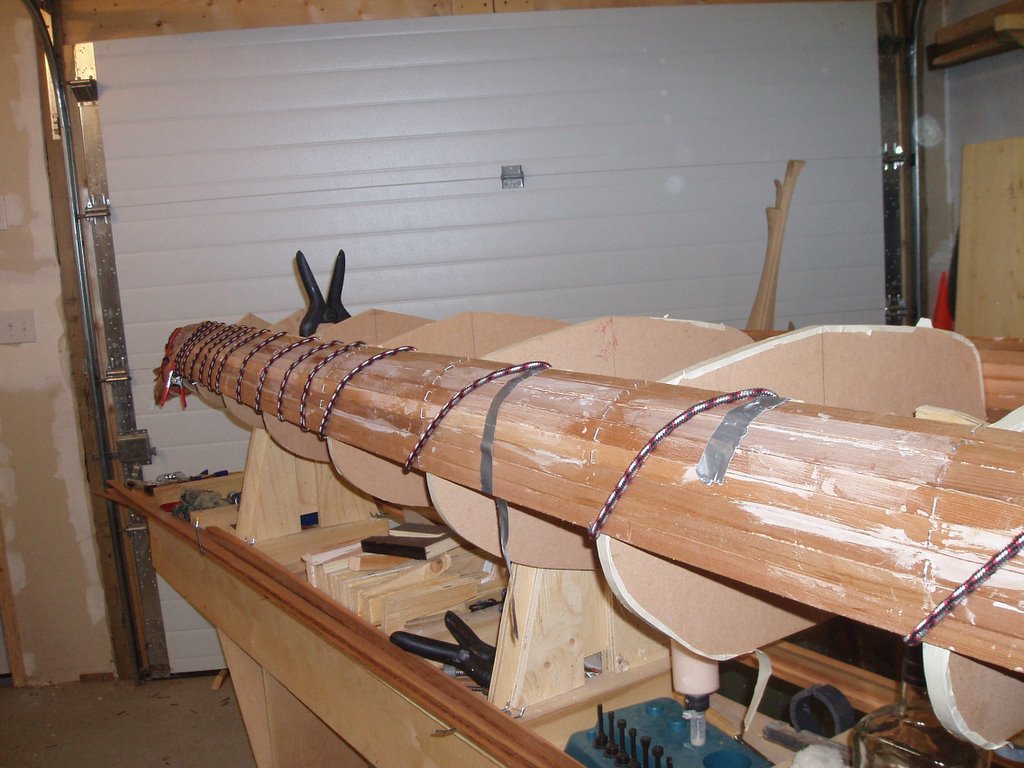
Well it's been pretty slow on the boat lately but just before heading out of town for Christmas I got the two strips on that run down the center of the bottom of the kayak forming the keel. These strips are regular bead and cove strips and they both face cove out. Thus, the bead had to be cut off of both strips (since I had my router set up as jointer I used that to take 1/8" off the
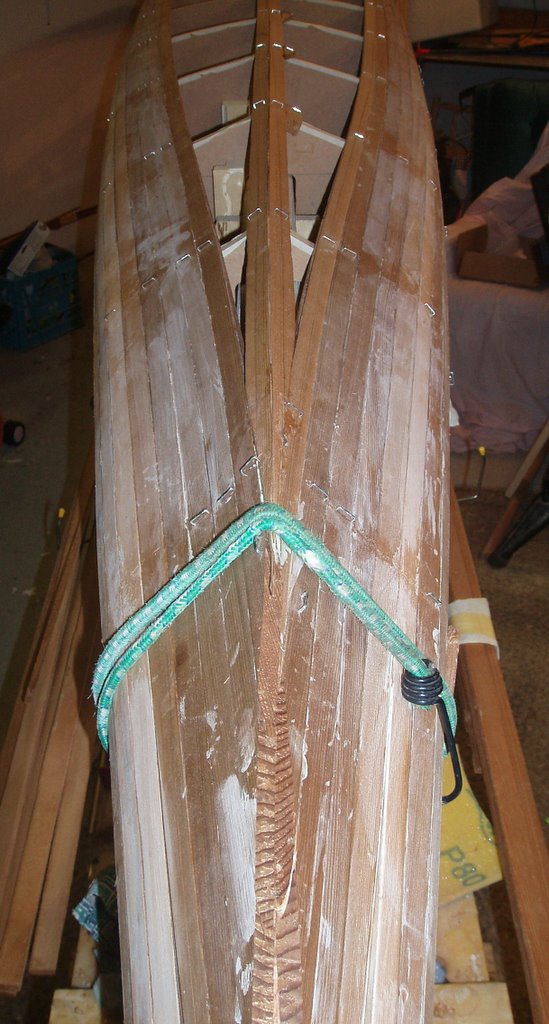 bead) then the strips beveled such that they mated together flushly despite the changing angle of the keel. The bevel was cut with a small block plane. The angle is quite flat in the middle of the boat but gets increasingly sharp towards the bow and stern. The strips meet at a near 45 degree angle near the ends. The strips along the sides of the kayak eventually came to a point where they were meeting each other more on the side than on the ends. In other words, the strips being added to the side were more on the bottom than on the side. The strips added to the side are cove-side up and thus the strips along the keel line had to be rounded on a taper at the tips in order to fit into the cove.
W ith the keel strips in place, I have now started to add strips to fill in the two crescent shaped gaps on either side of the keel. Since I now have a cove facing towards the keel on the outermost strips, and a cove facing away from the keel on those strips adjacent to the keel, the strips being added not only need to be tapered but they also need to be rounded in order to fit into where the coves come together. The meeting of the two coves creates gap between the strips beyond what is seen. Thus the tapered strips must extend into this gap. Add to
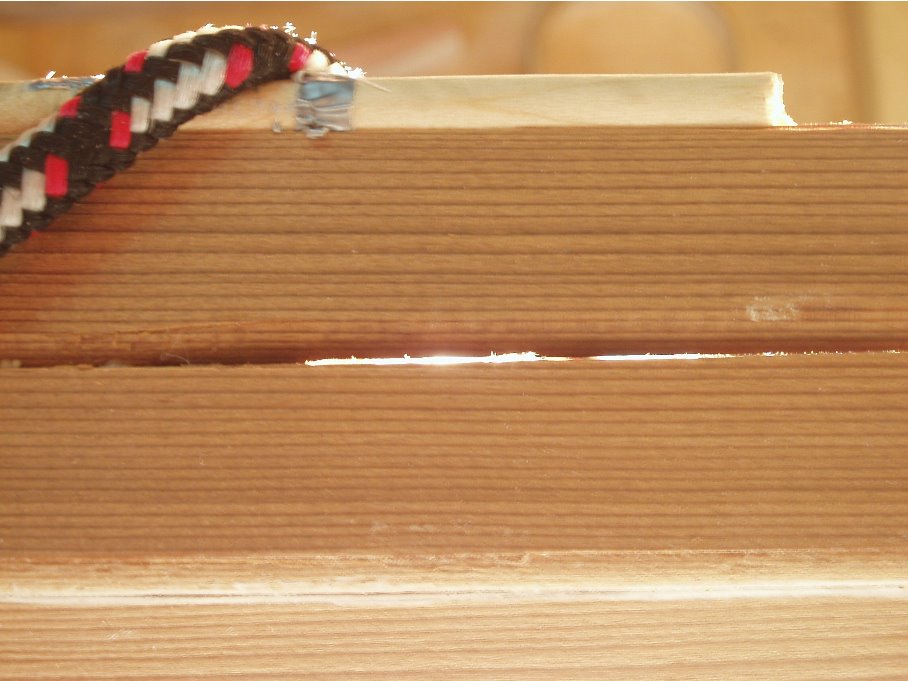
  this the fact that I have to get it just right at both ends and it must be exactly the right length and it seems a bit daunting. Regarding the length, because the taper is on such an angle, removing a small amount from the taper can make a big difference in the length. Thus, I err on the side of having my strip too long and once both ends fit well, I plane or sand small amounts off until the strips snaps into place. The first couple of tapers were a bit tricky to get right but I think I'm getting the hang of it. In fact I went back this evening and re-did the first strip I did, tossing the old one (actually the taper fit perfectly as the next strip so I just had to cut it a bit shorter and put a new
 taper onto the other end). In the photo at right which shows the tapered strip fit into place you can notice a gap at the left of the photo at the tip of the tapered strip. This was my first attempt at fitting the taper and was the one I went back to fix.
 ith the keel strips in place, I have now started to add strips to fill in the two crescent shaped gaps on either side of the keel. Since I now have a cove facing towards the keel on the outermost strips, and a cove facing away from the keel on those strips adjacent to the keel, the strips being added not only need to be tapered but they also need to be rounded in order to fit into where the coves come together. The meeting of the two coves creates gap between the strips beyond what is seen. Thus the tapered strips must extend into this gap. Add to
 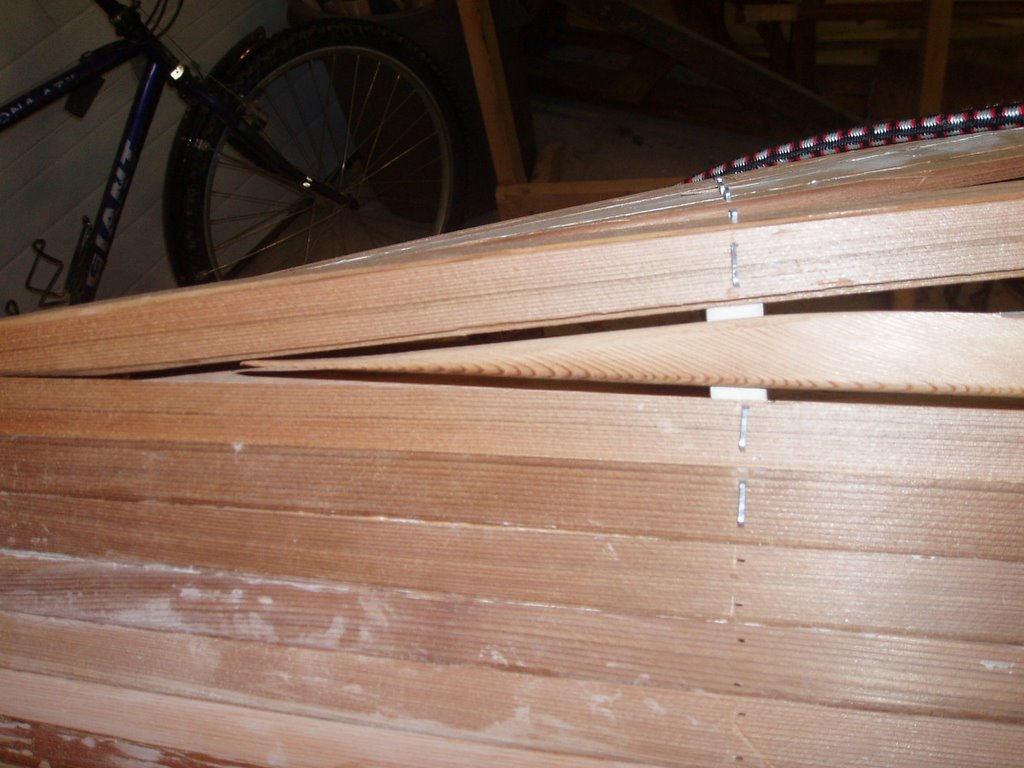 this the fact that I have to get it just right at both ends and it must be exactly the right length and it seems a bit daunting. Regarding the length, because the taper is on such an angle, removing a small amount from the taper can make a big difference in the length. Thus, I err on the side of having my strip too long and once both ends fit well, I plane or sand small amounts off until the strips snaps into place. The first couple of tapers were a bit tricky to get right but I think I'm getting the hang of it. In fact I went back this evening and re-did the first strip I did, tossing the old one (actually the taper fit perfectly as the next strip so I just had to cut it a bit shorter and put a new
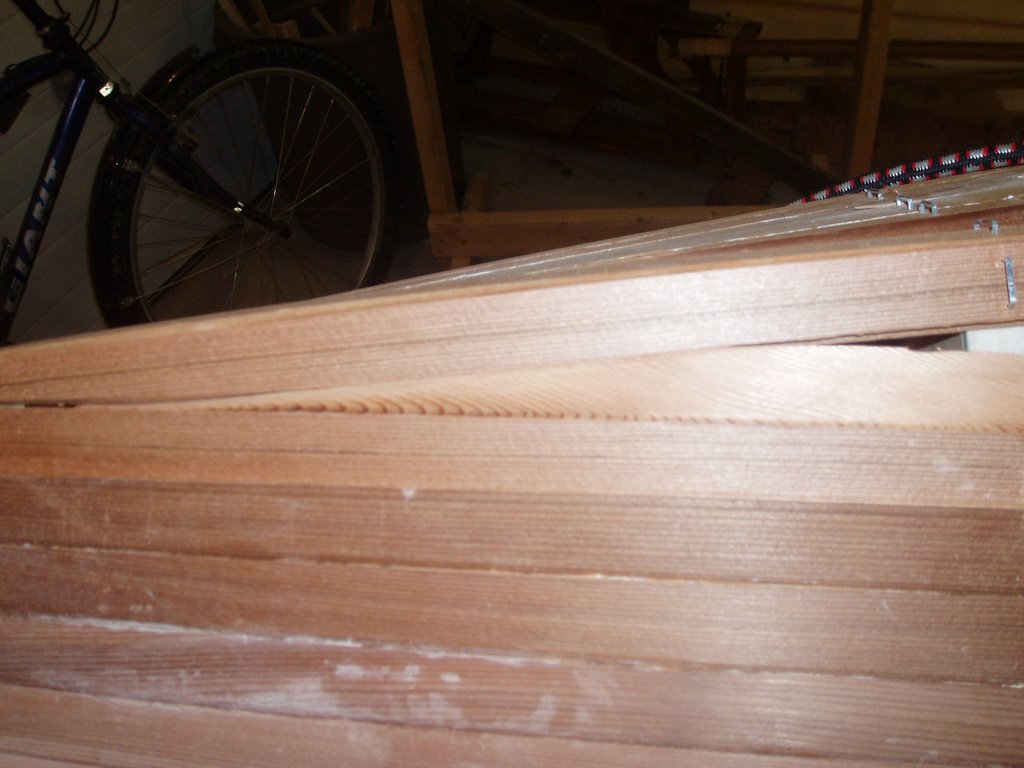 taper onto the other end). In the photo at right which shows the tapered strip fit into place you can notice a gap at the left of the photo at the tip of the tapered strip. This was my first attempt at fitting the taper and was the one I went back to fix.
The first two tapered strips filling the bottom go along the sides, one on each side of the keel. The next two strips have been fit to run adjacent to the keel strips. The subsequent strips will alternate fitting along the side or the keel. I now have 4 strips cut and tapered to fit, ready to be glued in. I'll wait with that for another day since I have to warm up the shop and keep it warm for a period so I want to be able to do as much as possible during that time.