 Stern to bow shot:
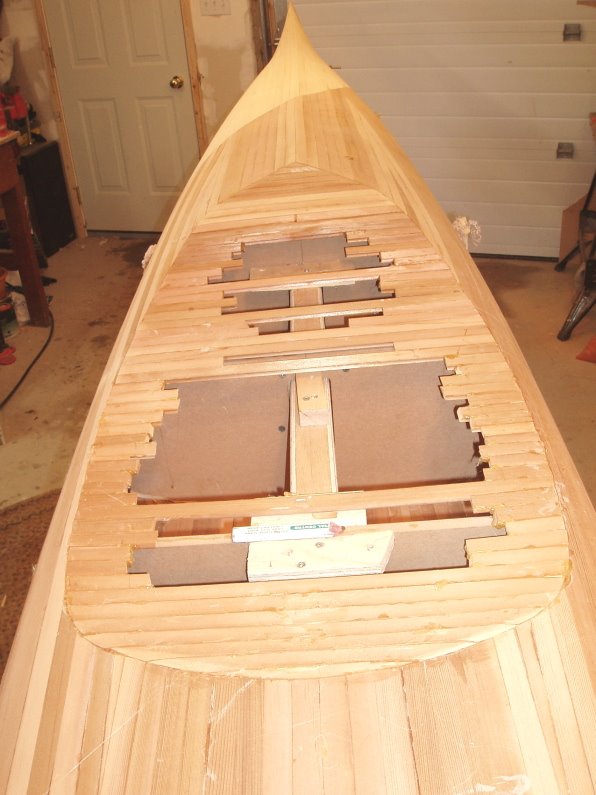
Bow to stern shot:

Side profile:
 The above photo shows how the recessed area lowers the final cockpit position, especially on the rear deck.
Finally, a frankensteinian panorama:
 That's it the deck is practically finished right??....... (stay tuned to see what's in store next)
p.s. If anyone can tell me how to quickly do a passable job of adjusting the colours in a digital photo to have things look a little bit realistic, I'm all ears. I play with the colour balance, gamma, tone, brightness, contrast and that thing with the curve that does wicked things to a photo, with limited success at best. I've got all the tools, I know how to turn them on, but I don't properly understand what they do or when to use them. Most of my shop pictures turn out too orange maybe due to the colour of the wood and a light source with a warm tone as seen by the camera.
No comments:
Post a Comment