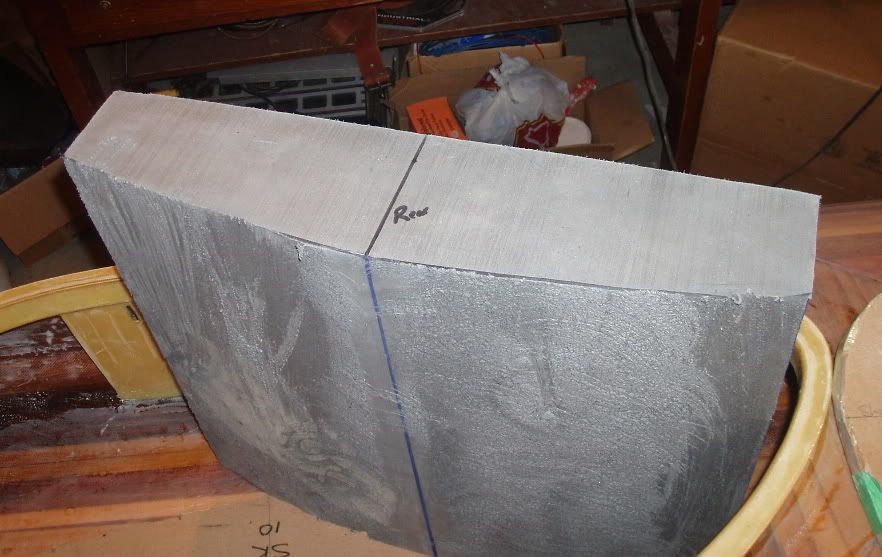
I began shaping a large block of minicell foam to create a seat for the kayak. Custom-made seats of minicell are reputed to be extremely comfortable and to provide a good fit for excellent boat control. Last year I ordered a supply of minicell foam for fitting out the kayak from Joe at Redfish Kayaks in the US, including a 4" x 16" x 24" block for the seat. Comparing the prices locally and from suppliers across Canada & the USA, Joe's price was best after the consideration of shipping charges.
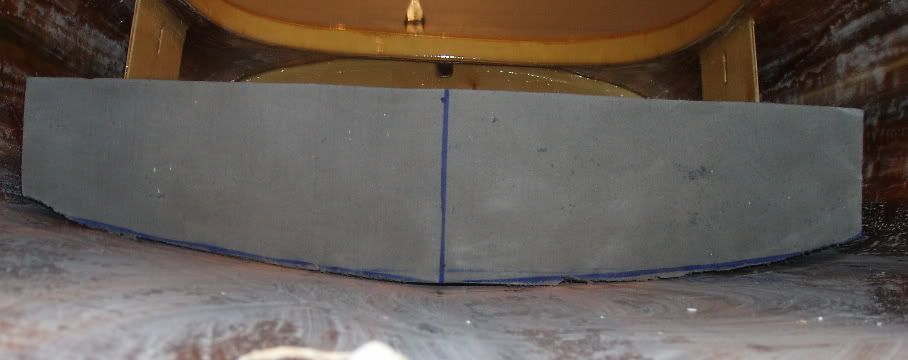
My first step was to cut the block to length in order to fit snugly between the hip braces, trimming it to 18.5" on the band saw. I then traced the shape of the bottom of the hull onto the front and back of the seat block, using form #9 for the front and form #10 for the rear. I then connected the lines on the side edge and added a line down the center of the bottom for reference.

I next used my japanese saw to cut a wedge off of each side of the bottom to get a shape that closely matched the profile of the bottom of the kayak. Note that this is different from the method described by Vaclav at One Ocean Kayaks.
Since I cut a bit outside the lines with the saw, I used a wheel in my drill designed for stripping paint (about 5-6" in diameter, found at the local Canadian Tire). This wheel seems to work well for the task and I think it will do the job of shaping the top to fit a bum. One has to be careful in using it though because it does tend to catch and want to gouge if the angle is held too high (this is why I practiced with it on the bottom!). My next steps will be to follow the seat carving instructions laid out on the Shop Tips section of the One Ocean Kayaks web site.
No comments:
Post a Comment