With blades painted, I epoxied them onto the shaft of the paddle, cut and shaped from cedar left over from the Sea Flea stringers. The shaft has a curved profile at the point of attachment of the blades. A fillet of thickened epoxy was added to the blade/shaft joint, and the back of the shaft shaped such that it becomes quite thin near it's extremities and gradually increases to full thickness. The shaft at the back of the blade also has a curved profile. Once the blades were attached and the shaft backing the blades shaped, a 14 gauge copper wire was added to the edge of the blade in order to protect the blade in use. Getting the copper wire attached to a blade edge that was less than 1/8" thick was a bit of a challenge. In order to provide some backing to the wire to keep it in the right spot, I clamped some additional 1/8" plywood to the blade with wax paper to keep glue from sticking to it. I then used Krazy Glue (cyanoacrylate glue) to tack the wire in place.
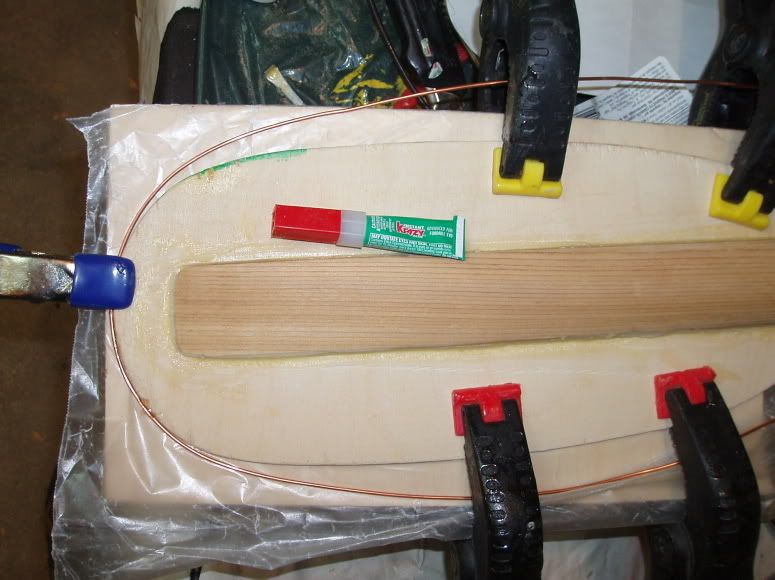 I worked progressively around the blade, starting at the tips and tacking the wire in place as I went. I would hold and/or clamp the wire in place then tack it in a couple of spots with glue then after a fwe seconds for the glue to take hold I could let go. I would give it a further few minutes for the glue to set before moving the clamps to tack the next series of spots. I only glued my fingers to the paddle a few times.
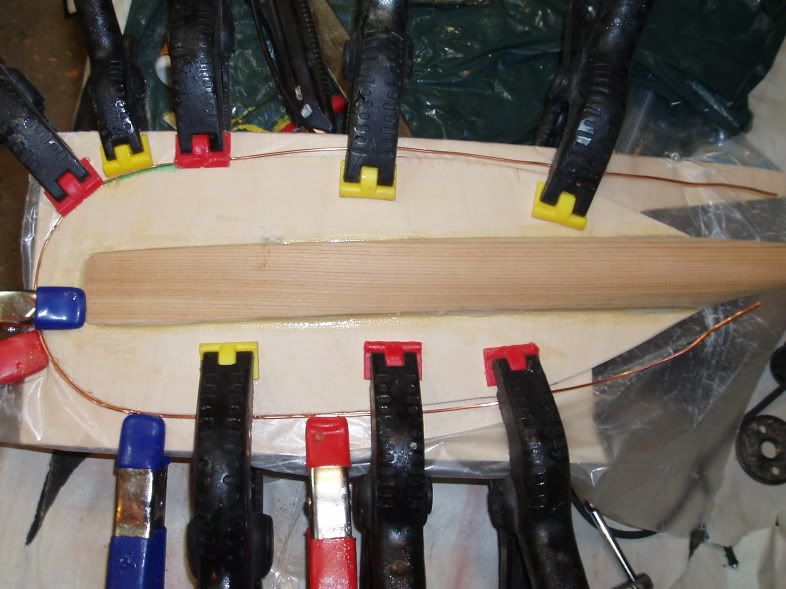 With the wire in place, the backing piece of plywood was removed and the glue residue seen below was cleaned up.
 After a bit more shaping of the shaft on the back of the blade, it was ready for fiberglass. I used 6 ounce cloth left over from the guillemot kayak. I could have used 4 ounce, but it wasn't quite as close at hand as this stuff. The photo below shows both blades with cloth pieces and ready for epoxy.
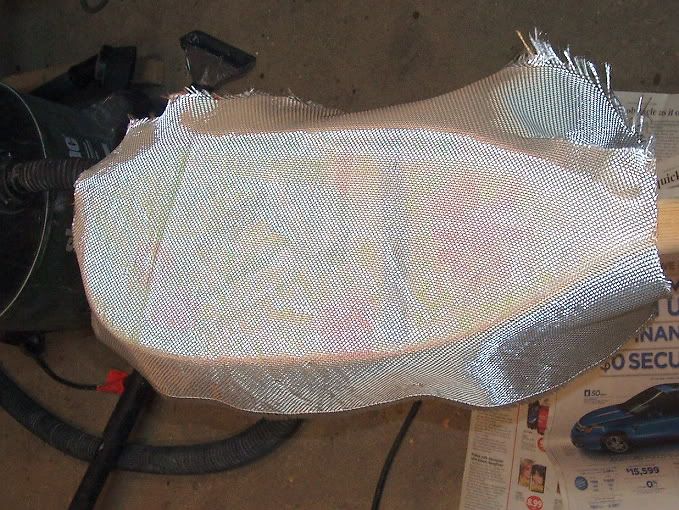 The silvery sheen of woven glass fibers turns clear as it wets out with epoxy.
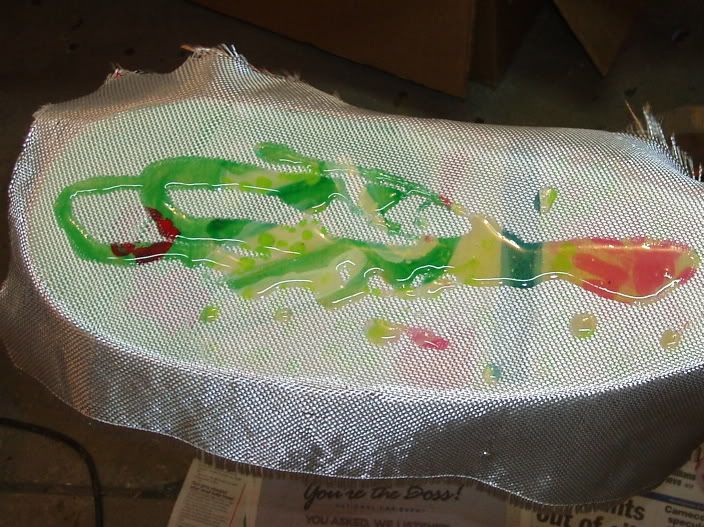 Below, the blade nearly fully wet-out.
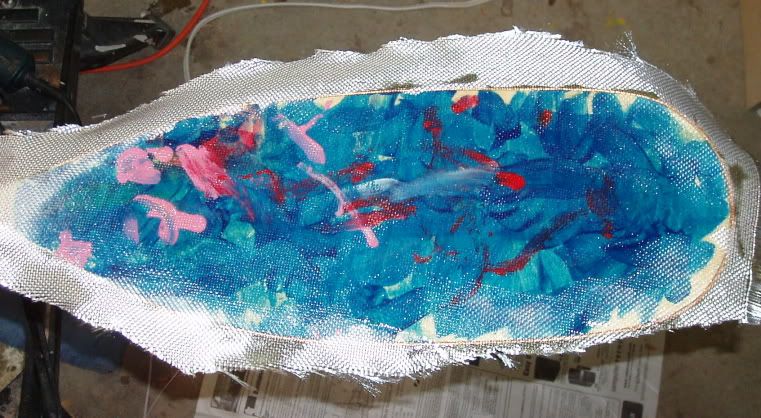
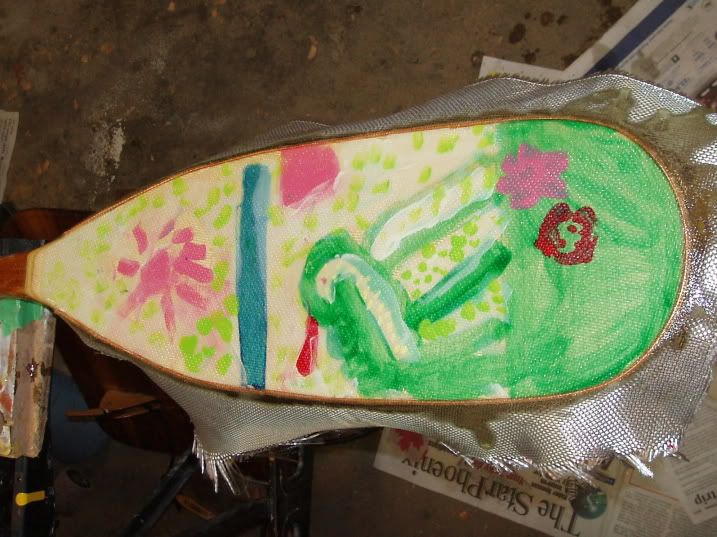 The back of the blade after a coat of epoxy.
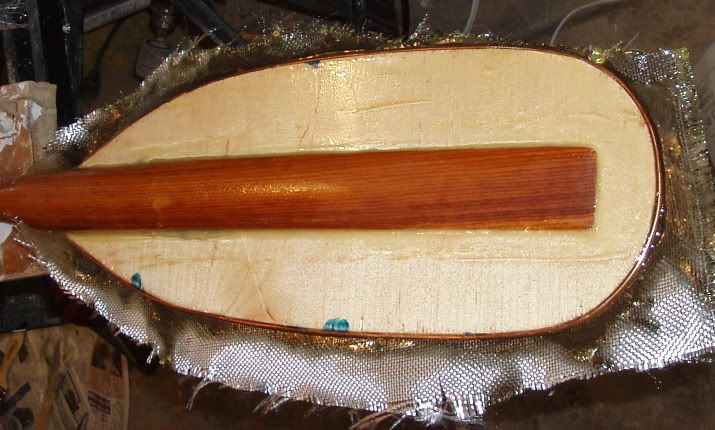 After the epoxy was partially cured to a green stage (somewhat rubbery, stiff but still flexible), the excess glass was trimmed with a sharp blade. The blades then received a fill coat of epoxy which was allowed to mostly cure before sanding and a third coat of epoxy was applied. The shaft also received a coat of epoxy along it's length.
The next photos I have of the paddle are of it in use during the launch of the girls' new kayak so stay tuned for the "launch" post. Later I will have to update this post with a weight and length (it's about 155 cm I believe).
No comments:
Post a Comment